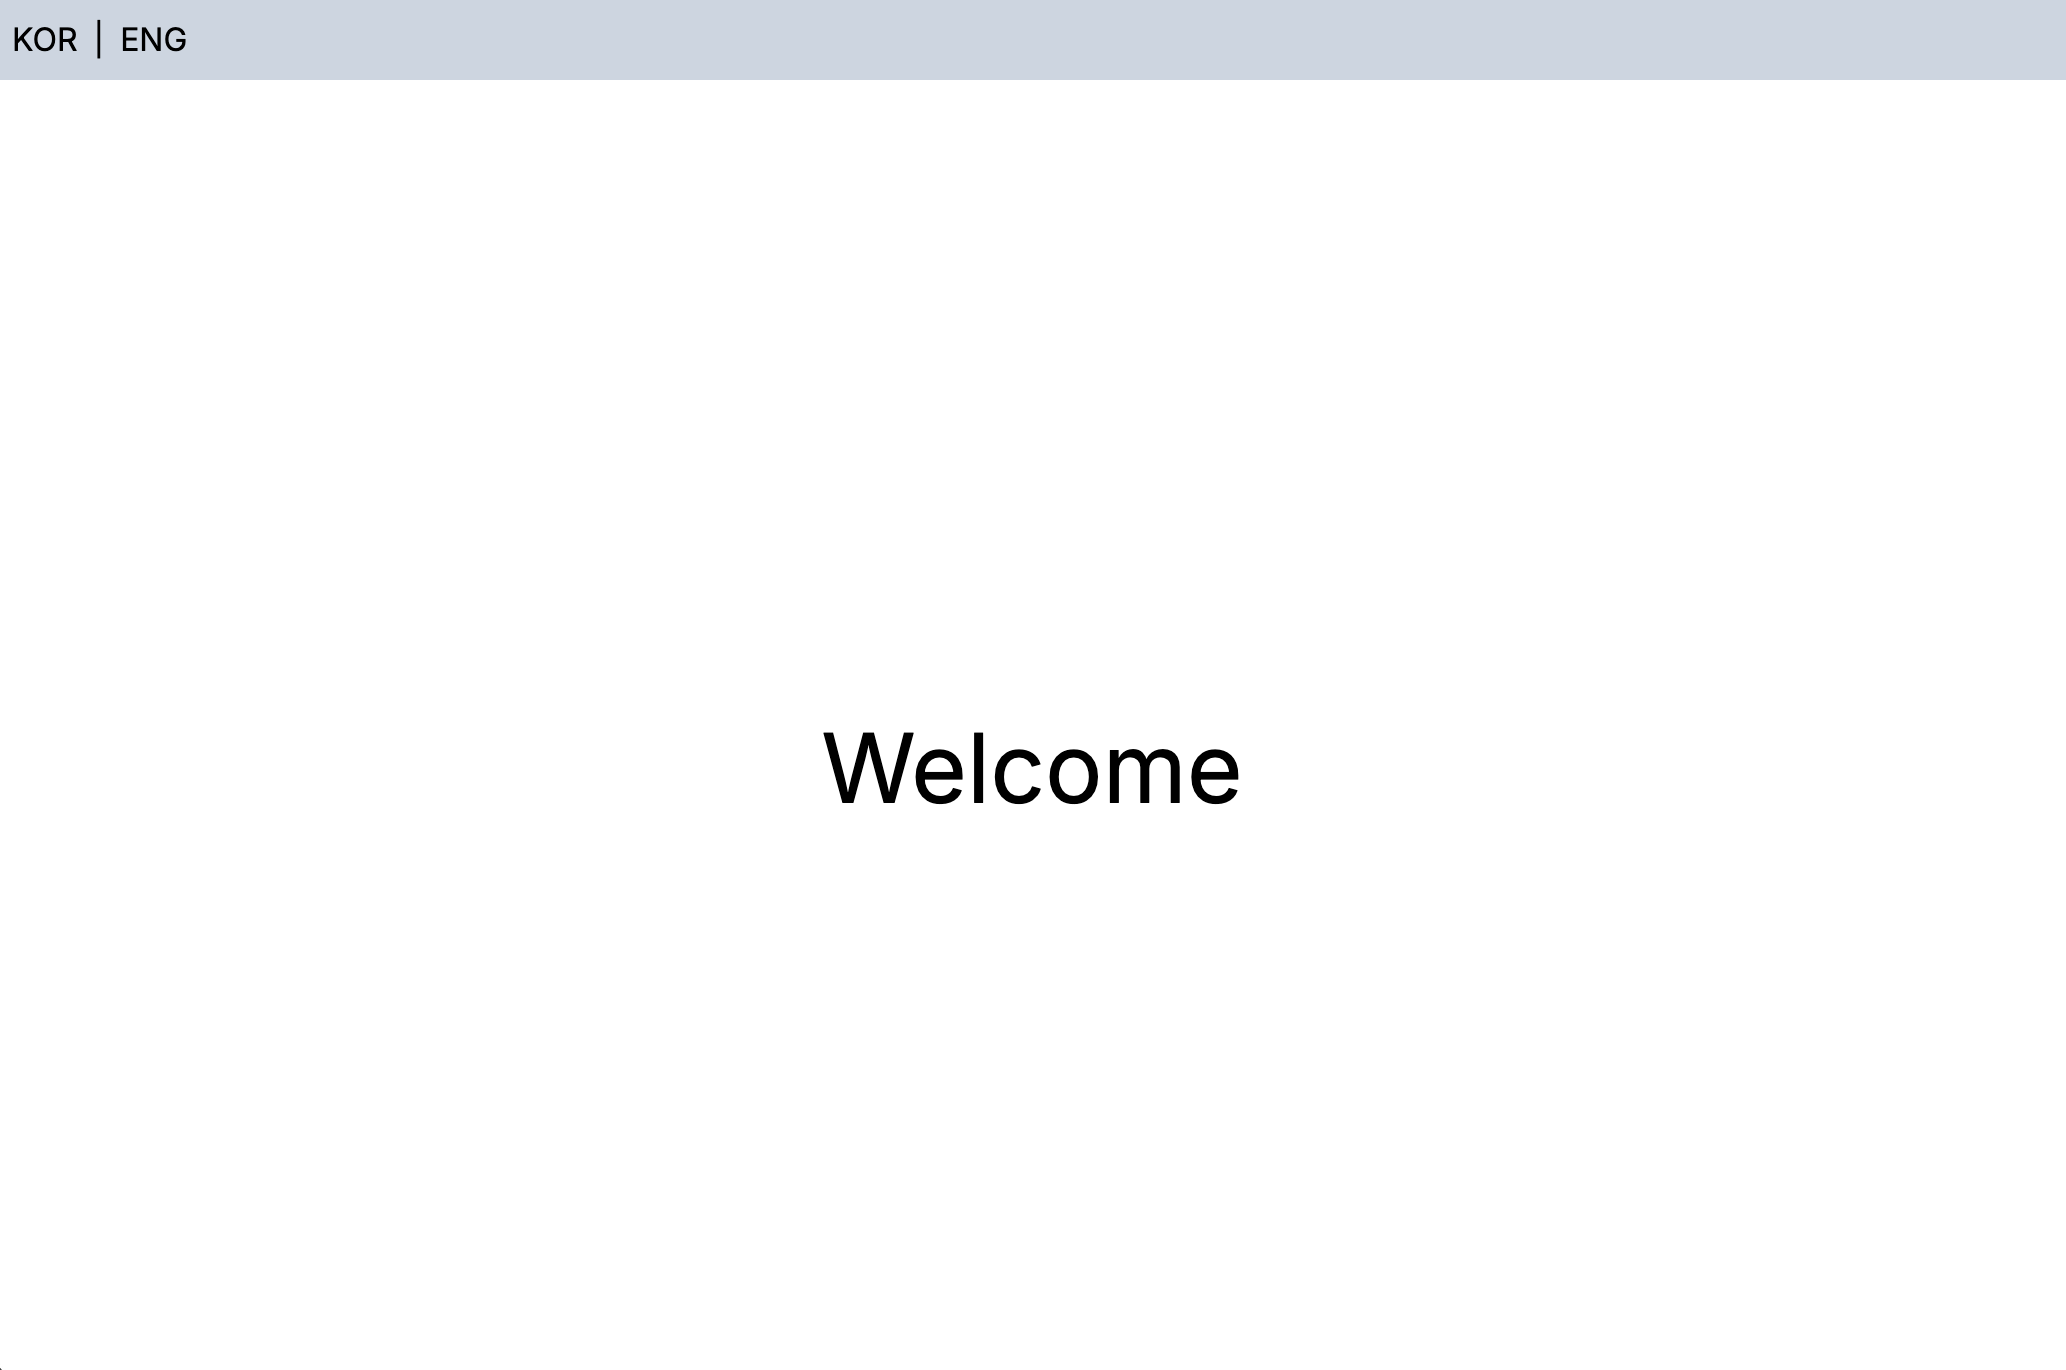
Next.js 애플리케이션에서 다국어 지원을 손쉽게 구현하기 위해, next-intl 라이브러리를 사용해 보았습니다. 이 글에서는 next-intl의 주요 기능, 사용 방법, 그리고 프로젝트 통해 다국어 웹사이트를 구현해 보겠습니다.
next-intl이란?
next-intl은 Next.js를 위한 국제화(i18n) 라이브러리로, 간단하고 직관적인 API를 제공하여 복잡한 설정 없이도 다국어 지원을 구현할 수 있습니다. 이 라이브러리는 가벼운 번들 크기를 유지하면서도 효율적인 다국어 기능을 제공합니다.
주요 기능:
- 간단한 API: 복잡한 설정 없이도 다국어 지원 추가 가능.
- 동적 로드: 언어별 번역 파일을 동적으로 로드하여 효율적 사용 가능.
- 리치 포맷 지원: 날짜, 숫자 등의 형식을 현지화된 형태로 제공.
- 작은 번들 크기: 필요한 기능만 제공하여 번들 크기에 최소한의 영향만 미침.
next-intl과 next-i18 next 비교
다음과 같은 경우 next-intl를 사용하자:
- 간단한 다국어 지원이 필요한 경우
- 프로젝트에 복잡한 국제화 기능이 필요하지 않을 경우
- 단순함을 선호하며 많은 종속성을 추가하지 않기를 원할경우
다음과 같은 경우 next-i18next를 사용하자:
- 자동언어 감지, 서버 측 번역, 번역 관리 서비스 통합과 같은 고급 기능이 필요할 경우
- 프로젝트에 복잡한 국제화 요구사항이 있을 경우
- 보다 복잡한 설정에 익숙하며 강력하고 기능이 풍부한 솔루션이 필요할 경우
next-intl 설치하기
npm i next-intl
messages 폴더 생성 - 번역 파일
파일 구조에서 제일 최상단에 messages 폴더를 생성해줍니다. messages 폴더 안에는 원하는 언어의 파일들을 만들어줍니다. 한국은 ko, 영어는 en으로 표기된니다. 그 외에 다른 나라 언어들의 locale은 링크에서 검색해 볼 수 있습니다.
en.json
{
  "Home": {
    "bannerTitle": "Welcome."
  }
}
ko.json
{
  "Home": {
    "bannerTitle": "환영합니다."
  }
}
Navbar 컴포넌트 생성
언어 변경을 위한 메뉴를 추가해보겠습니다.
Navbar.js
import Link from 'next/link';
import React from 'react';

const Navbar = () => {
  return (
    <nav class="flex p-2 bg-slate-300 gap-2">
      <Link href="/ko">KOR</Link>
      <div>|</div>
      <Link href="/en">ENG</Link>
    </nav>
  );
}

export default Navbar;
[locale] 폴더 생성
app 폴더 안에 [locale] 폴더를 생성해 줍니다.
그리고 [locale] 폴더 안에 layout.js, page.js도 함께 넣어줍니다.
layout.js
import Navbar from "../components/Navbar";
import "../globals.css";
import { Inter } from "next/font/google";

const inter = Inter({ subsets: ["latin"] });

export default function RootLayout({ children, params: {locale} }) {
  return (
    <html lang={locale}>
      <body className={inter.className}>
        <Navbar/>
        <div className='text-xl'>{children}</div>
      </body>
    </html>
  );
}
page.js
import { useTranslations } from 'next-intl';

const Home = () => {
  const t = useTranslations('Home');

  return (
    <main className="flex flex-col items-center">
      <div className="text-5xl leading-normal text-center flex justify-center items-center min-h-screen ">
        <div className="max-w-3xl">{t('bannerTitle')}</div>
      </div>
    </main>
  )
}

export default Home;
i18n.js 파일 생성
파일 구조에서 제일 최상단에 i18n.js 파일을 생성한다.
import {notFound} from 'next/navigation';
import {getRequestConfig} from 'next-intl/server';

const locales = ['en', 'ko'];

export default getRequestConfig(async ({locale}) => {
  if (!locales.includes(locale)) notFound();

  return {
    messages: (await import(`../messages/${locale}.json`)).default
  };
});
middleware.js 파일 생성
Middleware는 웹 애플리케이션에서 요청(Request)과 응답(Response) 사이의 흐름을 제어하는 중요한 역할을 합니다. 특히 Next.js에서 Middleware는 HTTP 요청이 서버에 도달하기 전, 또는 서버에서 응답을 반환하기 전 특정 작업을 수행할 수 있도록 도와줍니다.
import createMiddleware from 'next-intl/middleware';

export default createMiddleware({
  locales: ['en', 'ko'],
  defaultLocale: 'ko'
});

export const config = {
  matcher: ['/((?!api|_next|.*\\..*).*)']
};
next.config.mjs 파일 코드 수정
createNextIntlPlugin - next-intl 설정 간소화
createNextIntlPlugin 함수는 next-intl을 Next.js 애플리케이션과 통합하기 위한 플러그인을 생성합니다. 이 플러그인을 사용하면 next-intl을 Next.js의 설정 파일(next.config.js 또는 next.config.mjs)에서 쉽게 적용할 수 있습니다. 이를 통해 국제화(i18n) 설정을 간소화하고, 프로젝트 내에서 통일된 방식으로 다국어 기능을 관리할 수 있습니다.
withNextIntl - 다국어 지원
withNextIntl은 next-intl 플러그인을 적용한 Next.js 설정을 반환합니다. 이 설정을 통해 애플리케이션은 다음과 같은 기능을 지원할 수 있습니다:
- 다국어 지원: 각 페이지에서 사용자의 언어 설정에 맞는 번역 파일을 로드하여, 다국어 인터페이스를 제공합니다.
- 번역 파일 로딩: 각 언어에 대한 번역 파일을 쉽게 관리하고, 필요할 때마다 해당 파일을 로드합니다.
- 자동 라우팅: URL에 언어 코드(예: /en, /ko)가 포함된 경우, 해당 언어에 맞게 페이지를 자동으로 로드합니다.
import createNextIntlPlugin from 'next-intl/plugin';

const withNextIntl = createNextIntlPlugin();

/** @type {import('next').NextConfig} */
const nextConfig = {};

export default withNextIntl(nextConfig);
이제 http://localhost:3000/en과 http://localhost:3000/ko를 번갈아 열어보면 언어가 변경된 것을 확인할 수 있습니다.
완성

영상 따라 만들어보기
참고
https://nextjs.org/docs/app/building-your-application/routing/internationalization
https://next-intl-docs.vercel.app/
'프론트엔드 > Next' 카테고리의 다른 글
| [ Next.js ] Next.js 13 시작하기 (0) | 2023.05.08 |
|---|

댓글